Author tags
As you handle content, you can assign tags to the authors of posts and comments.
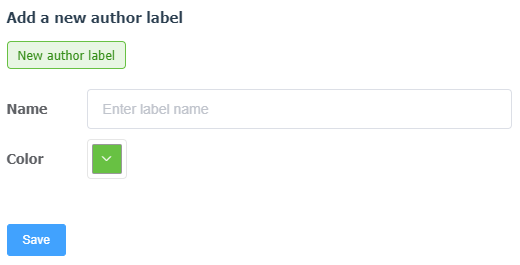
To create a tag, go toSettings - Author Labelsand click the "+ Add Label" button.
In the opened window specify the name of the label, choose its color and press "Save", after that the label will appear in the list of available ones and you will be able to assign it to the request authors.
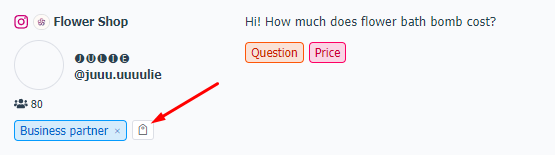
In theMessagessection, you can tag an author directly in the message feed by clicking the tag icon below the message author's name:
Or in the reply box by clicking the tag icon on the right side of the screen under the author's name:

Similarly, in theCommentssection, the label can be set from the comments feed:

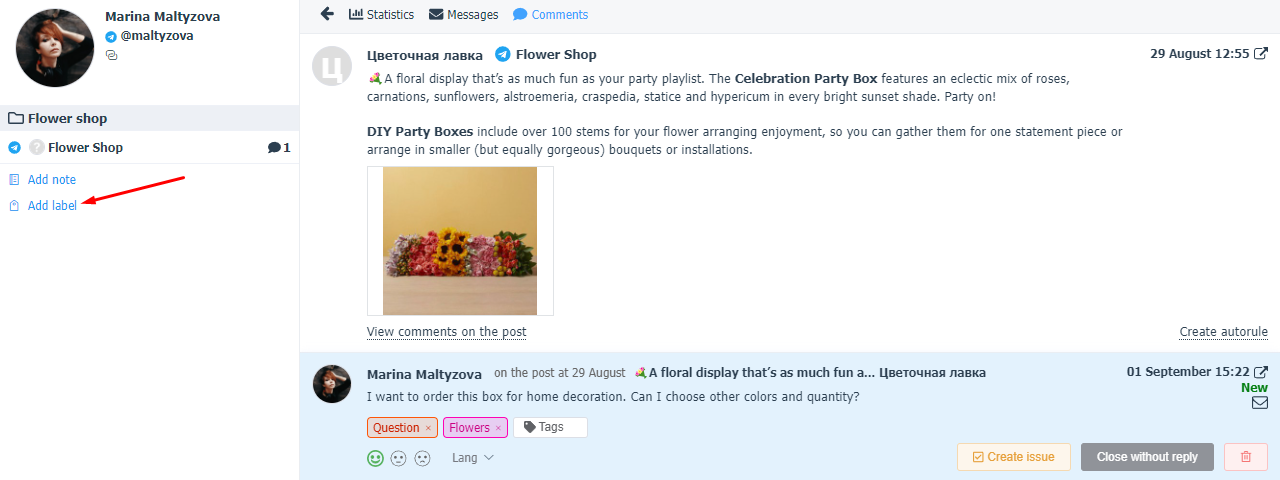
And also from the comment reply box by clicking the "Add Tag" button on the left side of the screen:
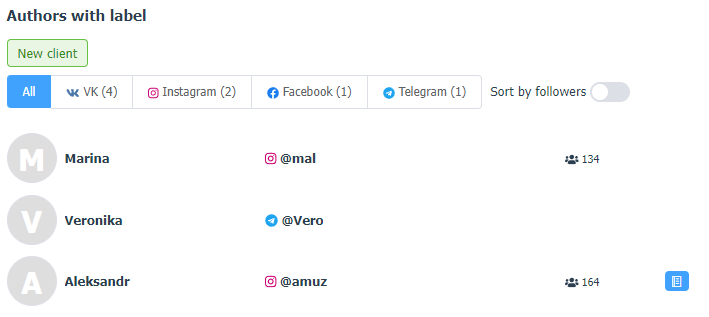
Once the authors are tagged, you can filter them by tags. To do this, go toAuthor Tagsand click on the arrow next to the desired tag.
A list of all authors with this label will open for you, showing the author's name, a link to the source page in the social network, the number of followers on this page (if this information is available) and an internal note (if it was added to the author in the service).
The list can be exported to CSV for self-analysis. The following fields are present in the upload: Author ID in the service, Source, Author Name, URL, Number of subscribers, Note.
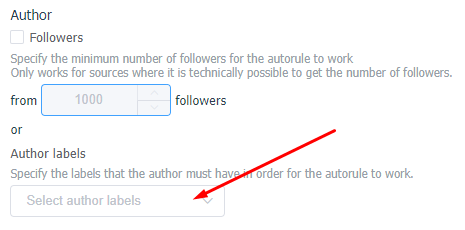
To simplify the handling of requests, you can createautomation rulesbased on the author's labels .
In order for the rule to work correctly, use the Author block in theSettings - Automation rulessection when forming the condition and specify the tags that should be assigned to the author of the request: