Google Play connecting
The service now allows you to collect and process reviews for your app from Google Play by connecting it directly.
To connect your account, receive reviews, and respond to them from the service, you need to complete several steps.
An administrator role is not sufficient!
STEP 1: Create a Project in the Google Cloud Console
To create a new project
- Go to theGoogle Cloud Consoleand sign in with your Google account
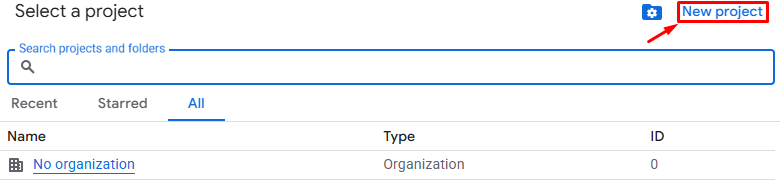
- At the top of the page, click the "Select a project" button

- Click the "New Project" button
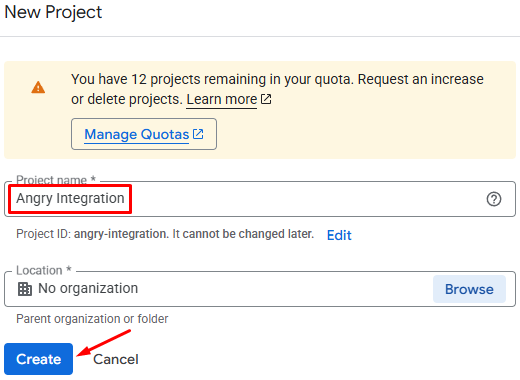
- Enter a name for the project and click the Create button.
Only letters, numbers, single quotes, hyphens, spaces, and exclamation marks may be used in the project name.
STEP 2: API Setup
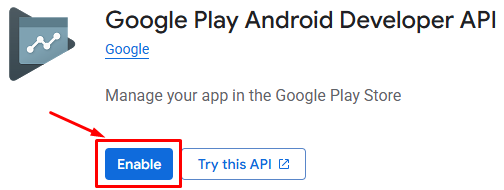
To programmatically access your app's data, you need to enable the primary API for interaction — the Google Play Android Developer API. To do this:
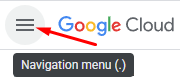
- Open the settings menu in the top left corner
- Go to the"APIs & Services - Library"
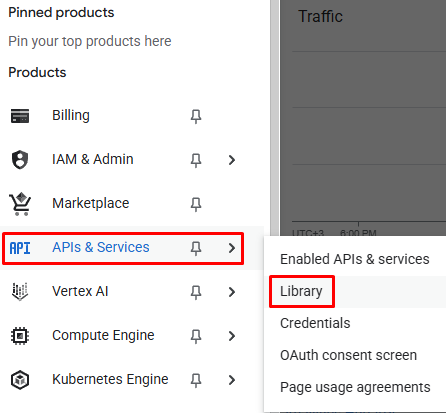
- Search or find "Google Play Android Developer API" and enable it
STEP 3: Creating a Service Account
A service account is a special account designed for applications and services, allowing them to access Google Cloud resources without a human user's involvement.
To create a service account:
- Open the settings menu in the top left corner
- Go to the"IAM & Admin - Service Accounts"
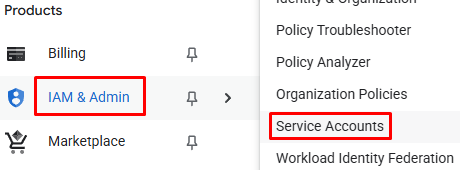
- Click the "Create service account" button

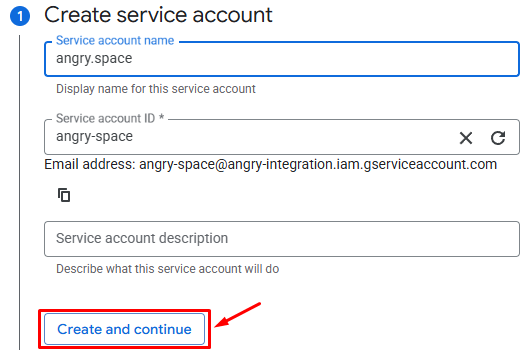
- Enter a name for the new account and click the "Create and continue" button
The account name will also be used as its identifier and in its email address.
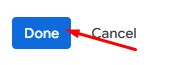
- Without setting up additional roles, click the "Done" button at the bottom of the page
STEP 4: Generate a JSON Key
A JSON key is needed for authorization and data exchange between your app and Google services, such as deploying apps to the Google Play Store and for API authentication.
To create a new key
- Find the previously created account in the list in the"Service Accounts"section
- Expand the actions menu for this account and go to the "Manage keys" section

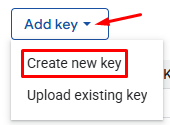
- Click the "Add key" button and select "Create new key"
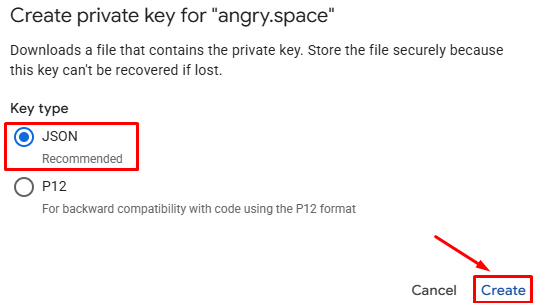
- Select the "JSON" key type and click "Create".
After that, you will be prompted to automatically save the key file to your work computer — please do so.
STEP 5: Adding permissions in Google Play Console
To further configuration, you need to go to theGoogle Play Consoleto link the service account with the app for which reviews will be collected.
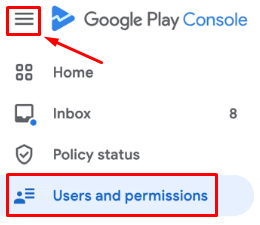
- Open the settings menu in the top left corner and go to the "Users and permissions" section
- Click the "Invite new user" button

- In the window that opens, enter the email address of the previously created service account

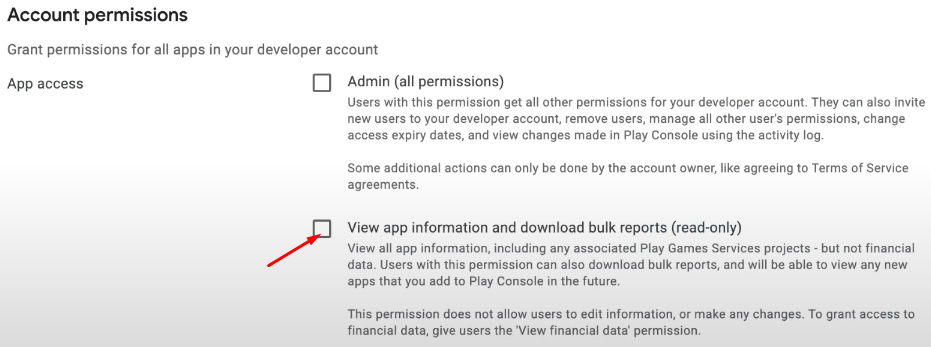
- In the Permissions section, open the "Account permissions" tab
- In the "App Access" section, select "View app information and download bulk reports"
- Scroll down the list and in the "User Feedback" section, select "Reply to reviews"

- Click the "Invite user" button and then the "Send invite" button
STEP 6: Adding an account to Angry.Space
To connect the app the service, you will need the app’s link and the JSON key created earlier.
- Go toSettings - Social Profilesand click "Add Social Profile" for the desired company
- In the window that opens, click the "Add" button next to Google Play.
- Copy the link to your app or the app’s package name in the Google Play Console and paste it into the corresponding field in the service

- Upload the JSON key file you downloaded earlier into the field below
- Click the "Add" button